Today's inspirational piece is a short tutorial on brayering a scene. The card I made for the dt line up on Monday (
here) was made following a tutorial by Michelle Zindorf found
here. I also used this tutorial as the inspiration for today's card.
Place two circles of post it notes opposite each other as shown in the picture. Using a blue ink pad and a brayer apply the ink to the paper. Apply to the top and then to the bottom so that you get a paler section in the middle.
Add a darker ink to the top of the paper.
I then referred to Michelle's tutorial and used the Lovely as a Tree stamps to add bushes and trees.
Here I created the reflection - you can see that I rolled my brayer over my stamp and then transferred the image to the paper under the main trees to make a true mirror image.
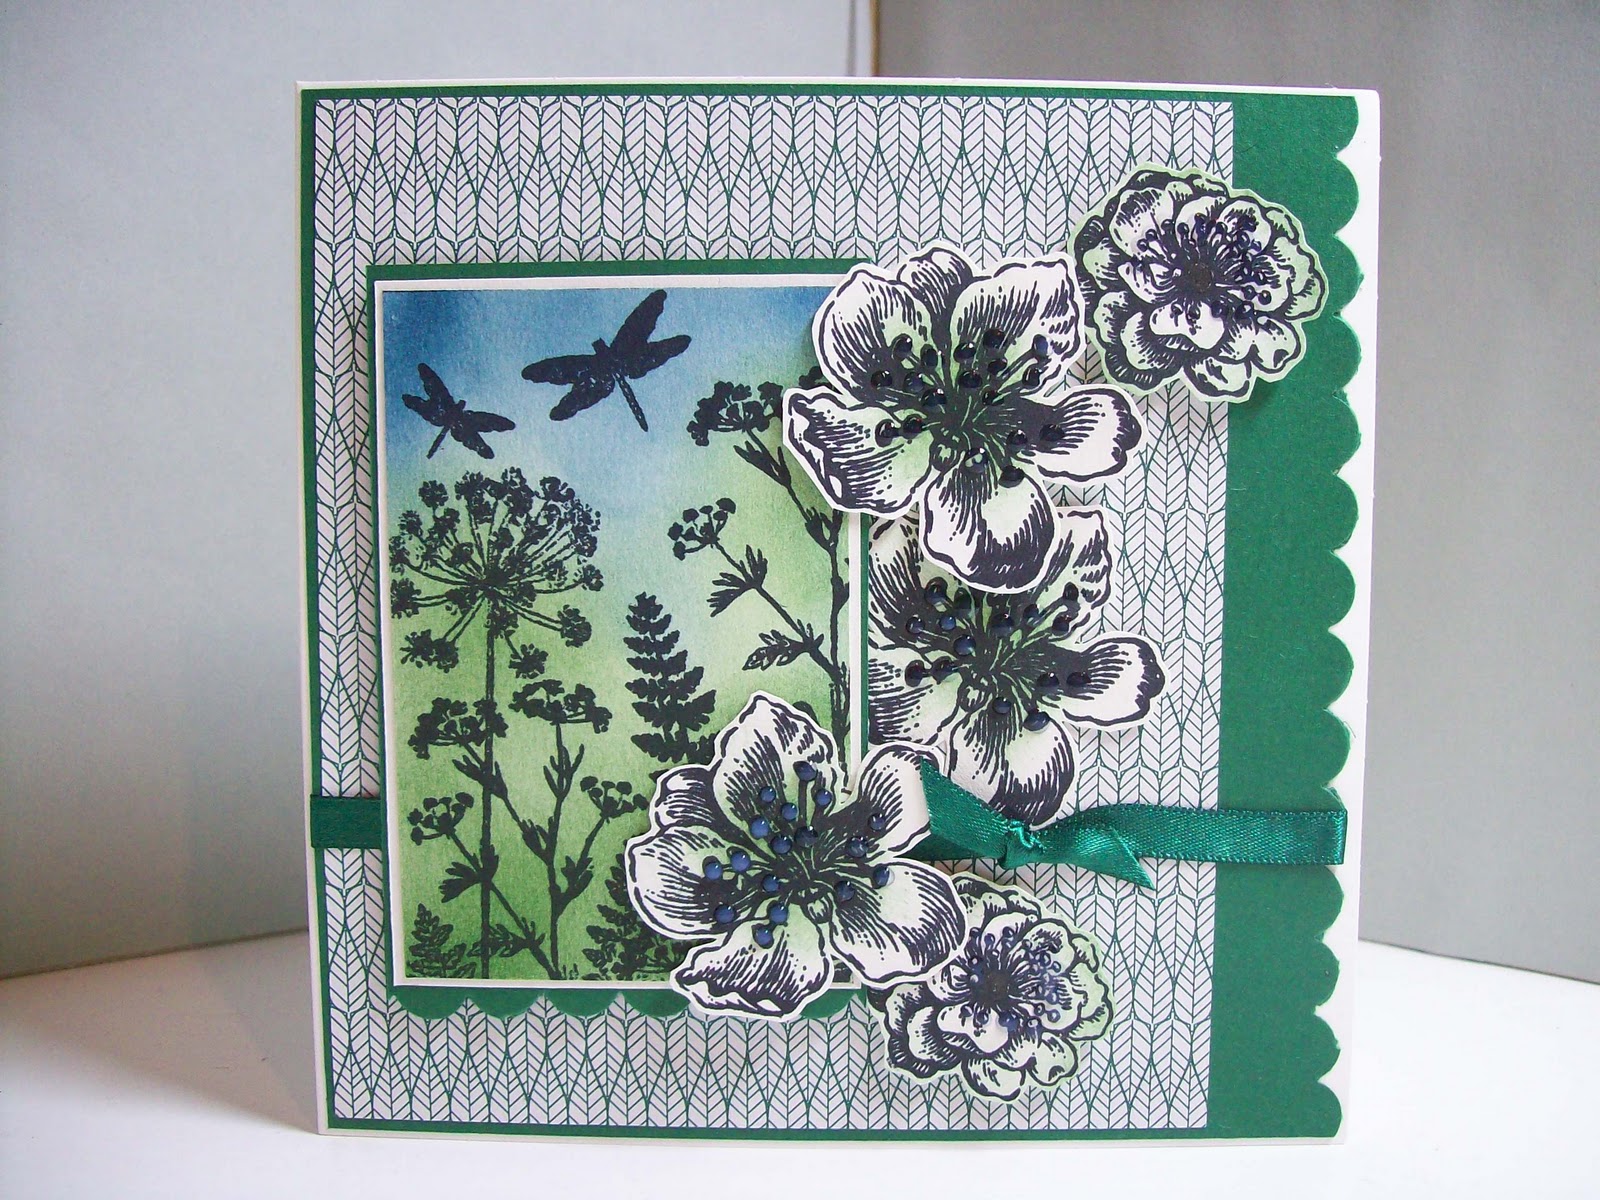
The foreground was added using some silhouette stamps (SU Upsy Daisy). These were stamped in a very dark ink and then a paler ink to create depth.
Here is the finished card.
This brayering technique can be used to create both daytime and night time scenes.


FYI-Watermk.jpg)